01The First Fork in the Road: Do You Need a Kiln?
Before buying a single bag of clay, you need to answer one foundational question, because the answer shapes every decision that follows: do you want to work with kiln-fired clay, or without?
It might sound like a technical detail, but it is really a question about ambition and circumstance. Kiln-free options — polymer clay, air-dry clay, and oven-bake clay — require nothing more than a standard domestic oven or simply open air. They are accessible, affordable, and genuinely enjoyable to work with. Their results, however, are decorative rather than functional: ornaments, sculptural pieces, jewellery, and models. They cannot be made fully waterproof, and they lack the structural integrity of high-fired ceramics.
Kiln-fired clay bodies — earthenware, stoneware, and porcelain — are the materials of traditional ceramics in its fullest sense. These are the clays potters have used for millennia, from early fired vessels in Mesopotamia and the Indus Valley to the celebrated imperial wares of China's Northern Song dynasty. They require temperatures that a domestic oven simply cannot reach. If you want to work with them, you have two routes: purchase a small electric kiln designed for home or studio use, or rent firing time at a local ceramics studio, community college, or shared maker space. Many beginners start with studio access before committing to the investment of their own equipment.
For bright colours, accessible glaze choices, and a lower initial outlay, low-fire earthenware makes an excellent first clay body. It is worth being clear-eyed about one limitation, though: earthenware fired at low temperatures is not fully vitrified — meaning it retains some porosity. That makes it better suited to decorative work and plant pots than to everyday dinnerware, where you want a dense, non-porous surface that can withstand repeated washing. For functional tableware, stoneware fired to higher temperatures is the more durable long-term choice.
02Preparing Your Clay: The Step Nobody Should Skip
Whichever clay body you choose, preparation is not optional — and it is where many beginners make their first costly mistake. Raw clay almost always contains air pockets, and air pockets become cracks in the kiln. There is no recovering a piece that shatters during firing because of a bubble that could have been removed in sixty seconds at the wedging board.
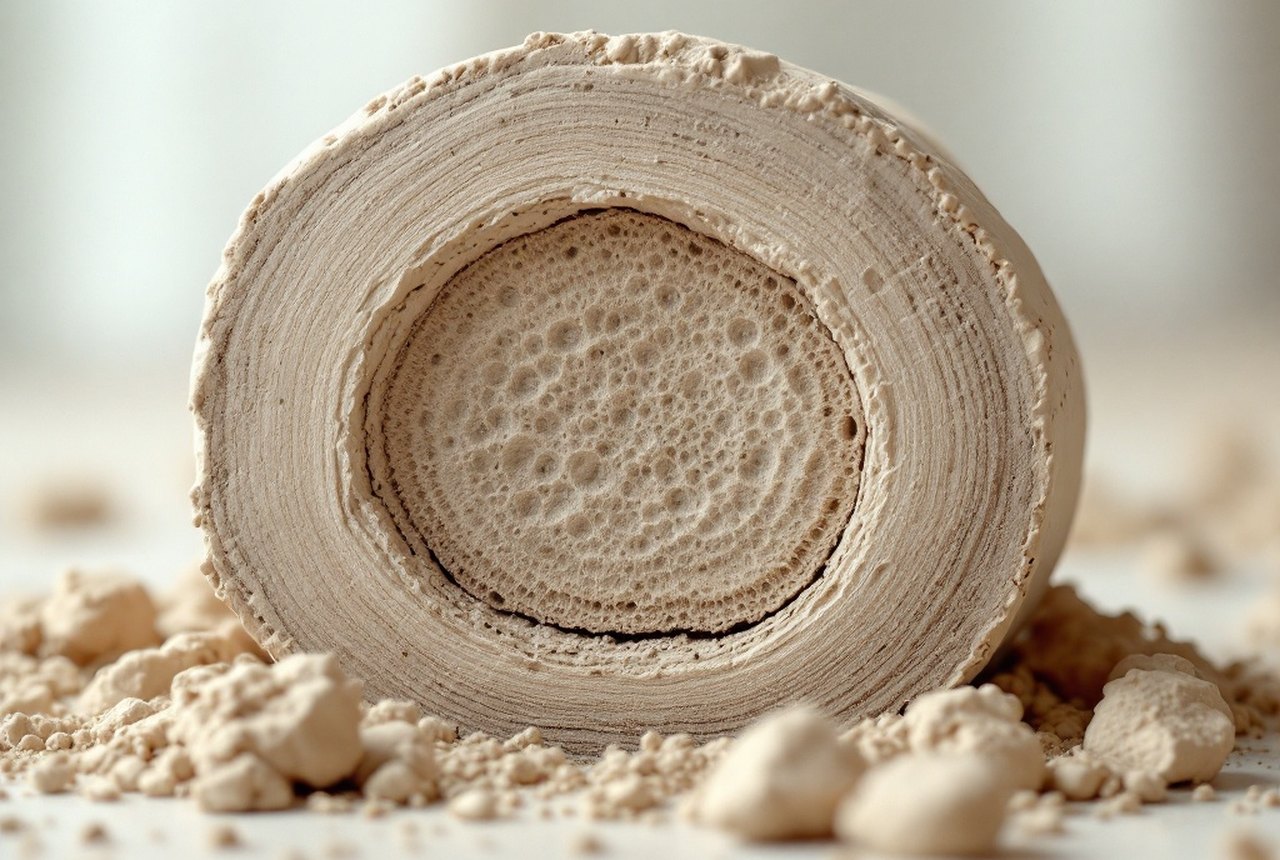
Wedging is the answer. Think of it as kneading bread dough, but with more deliberate purpose. Press and fold the clay against a plaster board or a smooth work surface repeatedly, applying firm, rhythmic pressure. The plaster is helpful because it draws out a little excess moisture. After several rounds of this, cut the ball cleanly in half and examine the cross-section. You are looking for a smooth, consistent interior with no visible bubbles or inclusions. If you see voids, wedge again. When the cross-section looks clean and the clay has a uniform, plastic feel throughout — only then are you ready to work.
03Centering and Throwing on the Wheel
If you are working with a potter's wheel, centering is the skill upon which everything else depends. A lopsided, wobbling mass of clay will fight you at every stage; a truly centered piece practically forms itself.
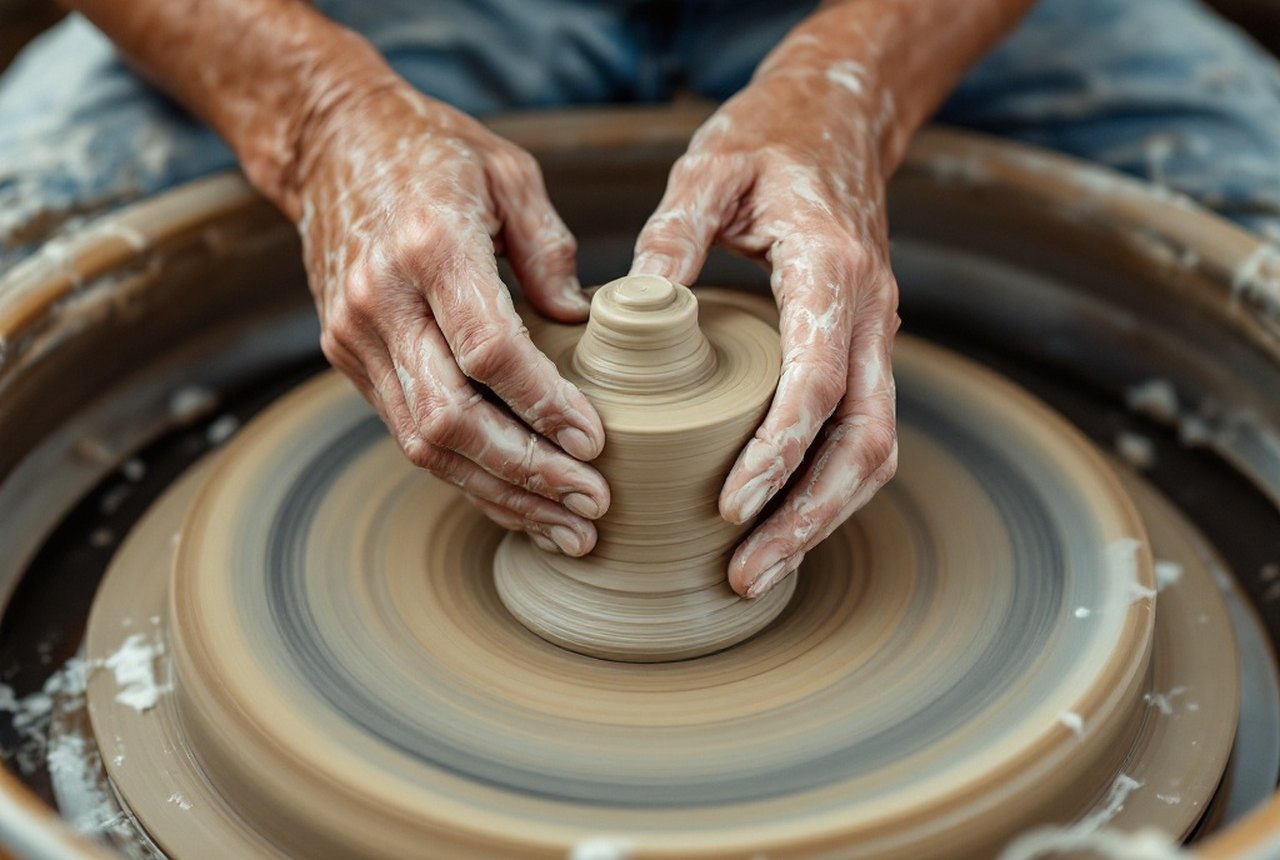
Start by throwing a ball of wedged clay firmly onto the center of the bat or wheel head — a decisive, confident action, not a tentative placement. Wet your hands generously, start the wheel at a moderate speed, and begin coning: brace the clay between your palms and compress it upward into a cone, then push it back down. The goal is to feel the clay moving with you rather than against you. A useful physical anchor: press your elbows into your knees or thighs. It sounds minor, but it transforms wobbly arm movements into controlled, stable pressure. The wheel is doing much of the work — your job is to guide it.
Centering is complete when the spinning clay runs perfectly smooth under your hands with no perceptible wobble. At that point you are ready to open the centred mass, press down to create the floor of your vessel, and begin pulling up the walls. Pull slowly, letting the wheel complete several full rotations before you shift your hand position. Patience here is everything. Rushing — making quick, jerky hand movements — is by far the most common beginner error, and it produces thin patches, uneven walls, and collapsed forms. The clay responds to sustained, even pressure; give it time to respond.
Once the form reaches the height and profile you want, use a sponge to remove excess water from the interior (standing water weakens the base), trim the base with a wooden knife or trimming tool, and smooth the outer surface with a rib. Leave the piece on the bat to firm up before any further handling.
Chronology
- Ancient Mesopotamia & Indus Valleyearliest known kiln-fired clay vessels
- Northern Song dynasty (960–1127 CE)peak of imperial Chinese ceramic ware production
- 20th centuryrise of the British Studio Ceramics movement
04Glazing: Colour, Chemistry, and a Few Cautions
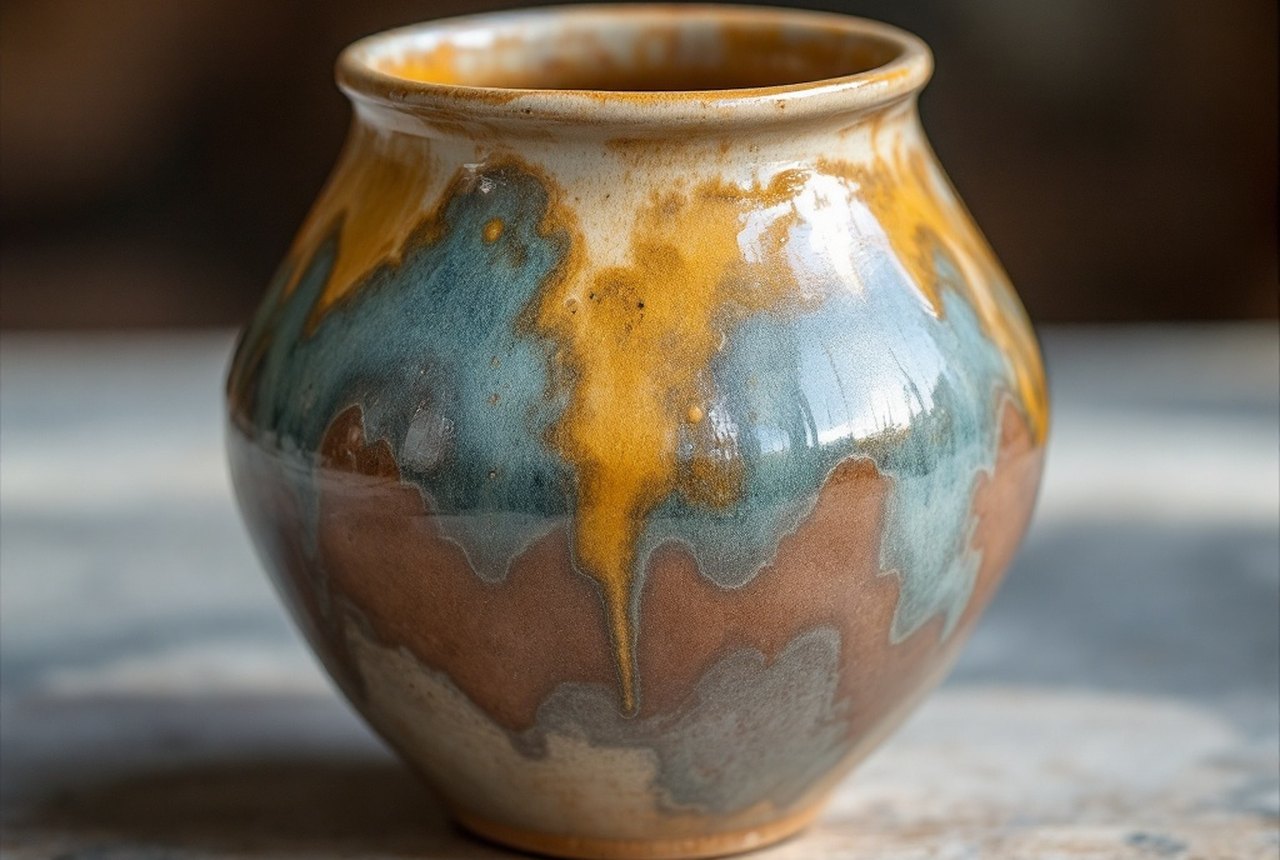
A bone-dry piece is a fragile, chalky thing. Glaze transforms it — adding colour, sealing the surface, and creating the glassy, vitrified finish that makes fired ceramics both beautiful and durable. But glazing is also where impatience causes failures, and where a little knowledge goes a long way.
First, your piece must be fully leather-hard and then completely dry before any glaze touches it. Applying glaze to damp clay creates an uneven surface and risks cracking during the glaze firing. For multiple pieces of similar size, dipping is the fastest method: submerge the piece for a few seconds, let the excess drip off, and set it aside. Brushing offers more control for single pieces or detailed decorative work, though it requires multiple even coats and a steady hand.
The single most important rule in glazing is one that is easy to overlook: always read the clay manufacturer's instructions before firing, and check that your glaze is compatible with your clay body. Different ceramic materials respond differently to heat. A glaze formulated for low-fire earthenware will behave entirely differently if applied to stoneware fired at a higher cone. Mismatched combinations can crawl, blister, crack, or fuse to the kiln shelf — ruining both the piece and potentially damaging shared equipment. Matching glaze to clay body is not an afterthought; it is as fundamental as the forming process itself.
Once glazed, pieces are loaded into the kiln with care — glaze-coated surfaces must not touch the kiln shelf or each other, as they will fuse together permanently during firing. After that, the kiln takes over. For the beginner, opening a cooled kiln after that first firing remains one of the more quietly thrilling experiences the craft has to offer.
05Finding Your Feet: Community, Practice, and Next Steps
Home ceramics does not have to mean working in isolation. Studios, community programmes, and dedicated ceramics institutions around the world offer beginner classes and open access to wheels and kilns. Alfred University in Alfred, New York — home of the Alfred Ceramic Art Museum — is one of the most celebrated centres for ceramics education in North America. In the UK, the Centre of Ceramic Art (CoCA) at York Art Gallery holds one of the country's most significant collections of British Studio Ceramics and is connected to a vibrant regional craft scene.
Even if formal study is not on your agenda, visiting collections and galleries — seeing what fired clay can become in skilled hands — sharpens your eye and deepens your appreciation of the material. And the material itself is endlessly rewarding: one of the oldest technologies human beings ever developed, still being reinvented by makers working at kitchen tables and in shared studios every day.